Step-by-Step Process of Installing Resin Surfacing Hampshire

Alex James


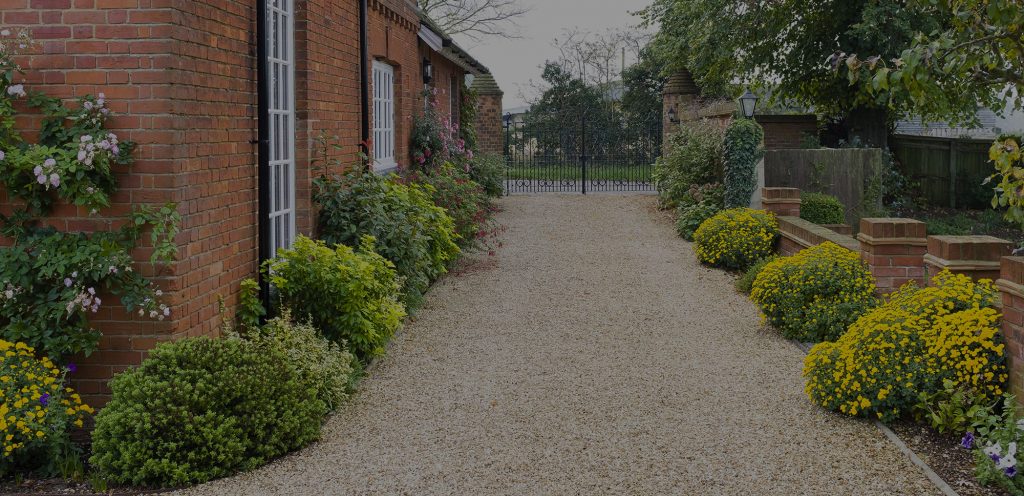
Resin surfacing has gained popularity in Hampshire for its durability, aesthetic appeal, and low maintenance. Whether for driveways, patios, or walkways, resin surfaces provide a versatile and attractive solution. This article provides a detailed step-by-step guide to the installation process of Resin Surfacing Hampshire. Understanding this process will help you make informed decisions and ensure a successful project.
Resin surfacing offers numerous benefits, making it an ideal choice for many homeowners and businesses:
Initial Consultation
The process begins with an initial consultation with a reputable contractor. During this meeting, you will discuss your specific needs, preferences, and budget.
Site Assessment
The contractor will conduct a thorough site assessment to evaluate the area for Resin Surfacing Hampshire. This includes:
Choose the design, color, and finish of your resin surface. This step allows you to customize the appearance to match your property’s aesthetic.
A detailed plan is created, outlining the entire installation process. This plan includes the timeline, materials needed, and specific installation steps.
Once the design and plan are finalized, you will approve the project details and sign an agreement. This agreement should include all terms and conditions, costs, and warranties.
Step 3: Preparing the Base
The installation area must be cleared of any existing surface, debris, or vegetation. This ensures a clean slate for the new resin surface.
A solid base layer is crucial for the durability of the resin surface. This typically involves:
Proper drainage is essential to prevent water pooling. The contractor will ensure the base is graded correctly to allow for efficient water runoff.
High-quality materials are selected for the resin and aggregate mixture. The choice of aggregate will influence the final appearance and texture of the surface.
The resin and aggregate are mixed thoroughly in a forced-action mixer. This ensures an even distribution of resin and consistent texture throughout the mixture.
The correct proportions of resin and aggregate are critical for the mixture’s strength and durability. Contractors follow precise measurements to achieve the desired consistency.
The resin-aggregate mixture is spread evenly over the prepared base using trowels and other tools. This step requires skill to ensure a smooth and uniform finish.
Special attention is given to leveling and smoothing the surface. This ensures there are no uneven spots or air bubbles, which can affect the surface’s integrity.
Creating Edges and Borders
Edges and borders are carefully crafted to give the surface a clean and professional appearance. This may involve using metal or plastic edging strips.
The resin surface needs time to cure and set. This process usually takes between 24 to 48 hours, depending on weather conditions and the specific materials used.
During the curing period, the surface must be protected from foot traffic, vehicles, and any debris. Barriers or warning signs are placed around the area to prevent accidental damage.
After curing, a final inspection is conducted to ensure the surface meets quality standards. Any imperfections are addressed and corrected at this stage.
Maintain your resin surface by sweeping regularly to remove debris. Occasional power washing helps to keep the surface clean and free of stains.
For tougher stains, use a mild detergent and a soft brush. Avoid harsh chemicals that could damage the resin.
Prevent potential damage by avoiding sharp objects and heavy impacts on the resin surface. Address any cracks or chips promptly with professional repairs.
Professional Maintenance
Consider scheduling professional maintenance with a contractor like Hampshire Driveways & Patios to ensure your resin surface remains in excellent condition over the years.
Select a contractor with extensive experience in resin surfacing. Review their portfolio and client testimonials to gauge their expertise and reliability.
Ensure the contractor provides transparent pricing with no hidden fees. The quote should include all aspects of the project, from materials to labor.
Good customer service is essential. Choose a contractor who communicates clearly, responds promptly to inquiries, and values customer satisfaction.
Verify that the contractor is certified and insured. This protects you from liability and ensures the contractor meets industry standards.
The installation of Resin Surfacing Hampshire involves several detailed steps, from initial consultation to final inspection. By understanding this process, you can make informed decisions and ensure your resin surfacing project is a success. For high-quality resin surfacing services, consider working with Hampshire Driveways & Patios. Their experienced team will guide you through each step, ensuring a durable and beautiful result.
FAQs
The installation process typically takes 3 to 5 days, depending on the size and complexity of the project. This includes time for site preparation, laying the surface, and curing.
Resin surfacing should ideally be installed in dry conditions to ensure proper curing and bonding. Extreme temperatures and rain can affect the installation process.
A well-installed and maintained resin surface can last up to 25 years. Regular cleaning and prompt repairs will help extend its lifespan.
Look for contractors with a proven track record, positive customer reviews, and relevant certifications. Consider reaching out to Hampshire Driveways & Patios for reliable and professional service.


