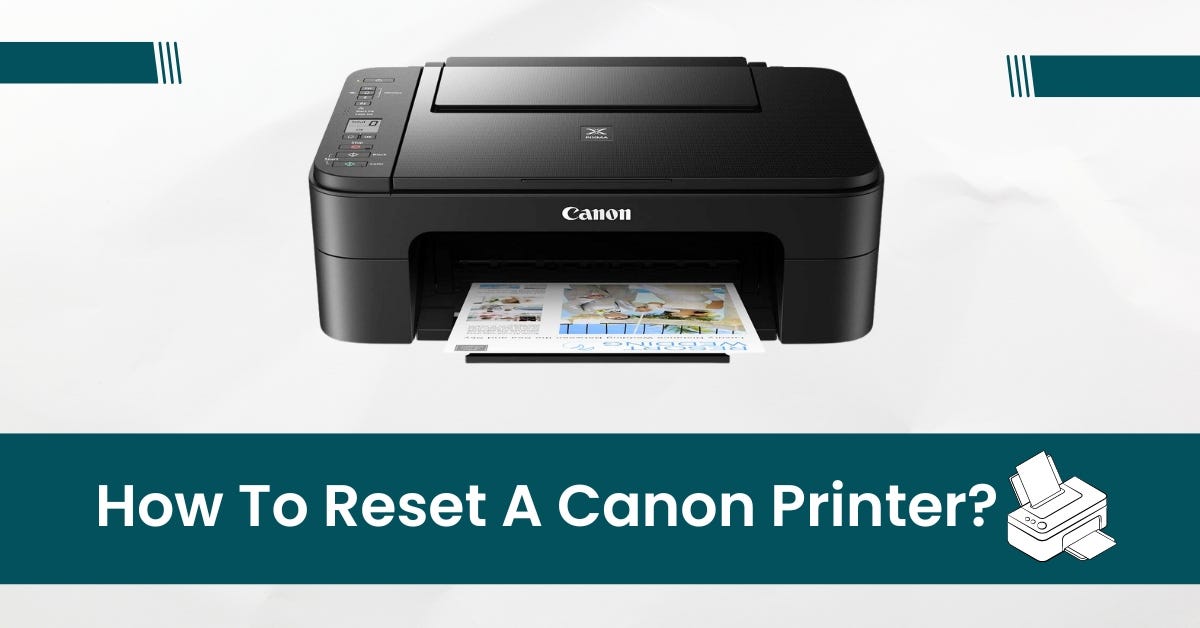
All Methods for How to Reset Canon Printer Settings

Resetting a Canon printer can solve various issues and restore it to its default settings. Here are a few methods how to reset Canon printer.
Method 1: Power Cycling
- Turn Off Printer: Ensure the printer is powered on, then press the power button to turn it off.
- Unplug Power Cable: Disconnect the power cable from the printer and wait for about 5-10 minutes.
- Reconnect and Power On: Plug the power cable back into the printer and turn it on. This simple power cycle can resolve minor issues by resetting the printer’s internal settings.
Method 2: Factory Reset via Control Panel (For Some Models)
- Access Control Panel: Navigate to your printer’s control panel/menu. Look for “Settings,” “Device Settings,” or “Maintenance” options.
- Factory Reset: Within the settings menu, search for the option to perform a “Factory Reset” or “Reset All Settings.” Confirm your choice when prompted.
- Follow Prompts: Follow the on-screen prompts to complete the factory reset process. The printer will revert to its default settings.
Method 3: Using the Printer’s Web Interface
- Access Web Interface: Connect your printer to the same network as your computer. Open a web browser and enter your printer’s IP address into the address bar.
- Login (if required): Some printers may require a username and password to access their web interface. Refer to the printer’s manual for default credentials.
- Navigate Settings: Look for “Settings,” “Maintenance,” or a similar section within the web interface.
- Reset to Defaults: Find the option to reset the printer to its default settings or perform a factory reset. Click on this option and confirm the action.
- Complete Reset: Follow the on-screen instructions to finalize the reset process. The printer will reboot and revert to its factory settings.
Method 4: Manual Button Combination (Model-Specific)
- Refer to Manual: Consult your printer’s manual or visit Canon’s official support website for information on specific button combinations required for a hard reset.
- Follow Instructions: Different models may have distinct button sequences. Typically, this involves pressing and holding specific buttons in a particular order. For example, pressing and holding the “Stop” or “Resume” button while powering on the printer.
- Reset Confirmation: Release the buttons once the printer starts its reset process. Follow any additional on-screen instructions, if provided.
Always note that performing a factory reset will erase all customized settings and return the printer to its default state. If uncertain about the process for your specific Canon printer model, referring to the user manual or contacting Canon support can provide accurate guidance.
Setup Canon printer using the https://ij.start.cannon on Windows 10/11 or macOS
Setting Up Canon Printer on Windows
Wireless Connection:
- Compatibility Check: Ensure your Windows version is compatible with the Canon printer.
- Software & Drivers: Visit the official Canon website to download the latest drivers compatible with your Windows OS version.
- Installation: Install the downloaded drivers on your PC or laptop.
- Printer Setup: On the printer, access Wi-Fi setup and choose Wireless LAN setup. Follow the prompts to select your Wi-Fi network and enter the password.
- Verification: Go to Control Panel > Devices and Printers on your Windows PC to confirm the successful addition of your Canon printer.
Wired Connection:
- Driver Installation: Download and install the required printer drivers from the Canon website.
- USB Connection: Connect the Canon printer to your Windows PC using a USB cable.
- Control Panel Setup: Access Control Panel > Devices and Printers > Add a Printer. Select your connected Canon printer to add it to the available printers list.
Setting Up Canon Printer on Mac
- Download Drivers: Visit the Canon website and download the necessary drivers compatible with your Mac OS version.
- Driver Installation: Install the downloaded drivers on your Mac.
- System Preferences: Click on the Apple logo > System Preferences > Printers & Scanners.
- Add Printer: Click the “+” sign, select your Canon printer from the list, and follow the prompts to complete the setup.
Installing Printer Drivers
- Locate Downloaded Files: Find the downloaded printer driver files.
- Installation Wizard: Run the setup file, select language preferences, and connect your printer via USB or wireless method.
- Software Selection: Choose the components to install, review the License Agreement, and proceed with the installation.
- Test Setup: Print a test page to confirm the successful installation of the printer drivers.
This comprehensive guide using https //ij.start.cannon covers key steps from driver downloads to printer setup and verification, ensuring a seamless printing experience on both Windows and Mac operating systems with your Canon printer.
Go to Homepage for other interesting article information.


