How Can I Fix a PC with No Display on Startup?

mwasimtariq330


A PC failing to display anything on startup is a frustrating issue that can stem from multiple hardware or software problems. If your computer powers on but shows no image, don’t panic—there are several troubleshooting steps you can take to diagnose and fix the issue. This guide will walk you through potential causes and solutions, ensuring you can restore your PC’s functionality efficiently. Whether it’s a hardware failure, incorrect settings, or a simple connectivity issue, we’ll cover everything you need to know to get your system back up and running.
One of the most common reasons a PC does not display anything on startup is a power supply issue. Make sure your monitor is plugged into a functional power outlet and that its power indicator light is on. If the monitor does not turn on, try using a different power cable or outlet.
A loose or faulty connection between your PC and monitor can prevent display output. Ensure that:
If the PC itself is not turning on, check that:
To rule out monitor failure, connect your monitor to another PC, laptop, or gaming console. If it works fine, the issue is likely with your PC. If the monitor remains blank, it may need repair or replacement.
Some monitors require manual selection of the input source. Use the monitor’s on-screen display (OSD) menu to ensure the correct input source (HDMI, DisplayPort, VGA, etc.) is selected.
Improperly installed RAM can cause your PC to turn on without displaying anything. To fix this:
If your PC has a dedicated graphics card, it may be the cause of the issue:
A corrupted BIOS setting can prevent the system from displaying anything. Resetting the CMOS battery restores BIOS settings to default:
Some motherboards have a BIOS recovery function that allows you to restore a corrupted BIOS. Refer to your motherboard’s manual for recovery instructions.
A failing power supply unit (PSU) may cause the system to power on but fail to display anything. Test the PSU by:
Many modern motherboards have debug LEDs or a speaker that emits beep codes indicating hardware issues. Consult your motherboard manual to interpret any error codes or beeps.
An improperly installed CPU can prevent display output:
Sometimes, external devices like USB drives, printers, or gaming controllers can cause boot issues. Disconnect all non-essential peripherals and restart the PC.
To perform a hard reset:
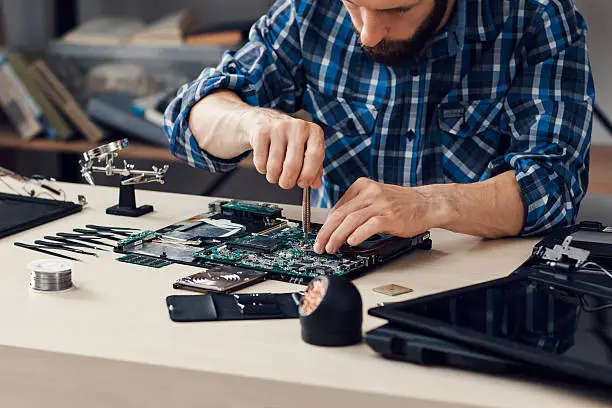
If none of the above solutions work, consider professional Computer Repair in Cumming, GA. Expert technicians can diagnose complex hardware failures, test components with specialized tools, and provide efficient solutions to get your PC back in working order.
Techy Cumming offers professional computer repair services in Georgia. Our team specializes in repairing PCs, laptops, MacBooks, and iMacs with state-of-the-art tools. We prioritize quality and efficiency, ensuring every repair extends your device’s lifespan and improves its performance.

All Rights Reserved © 2023