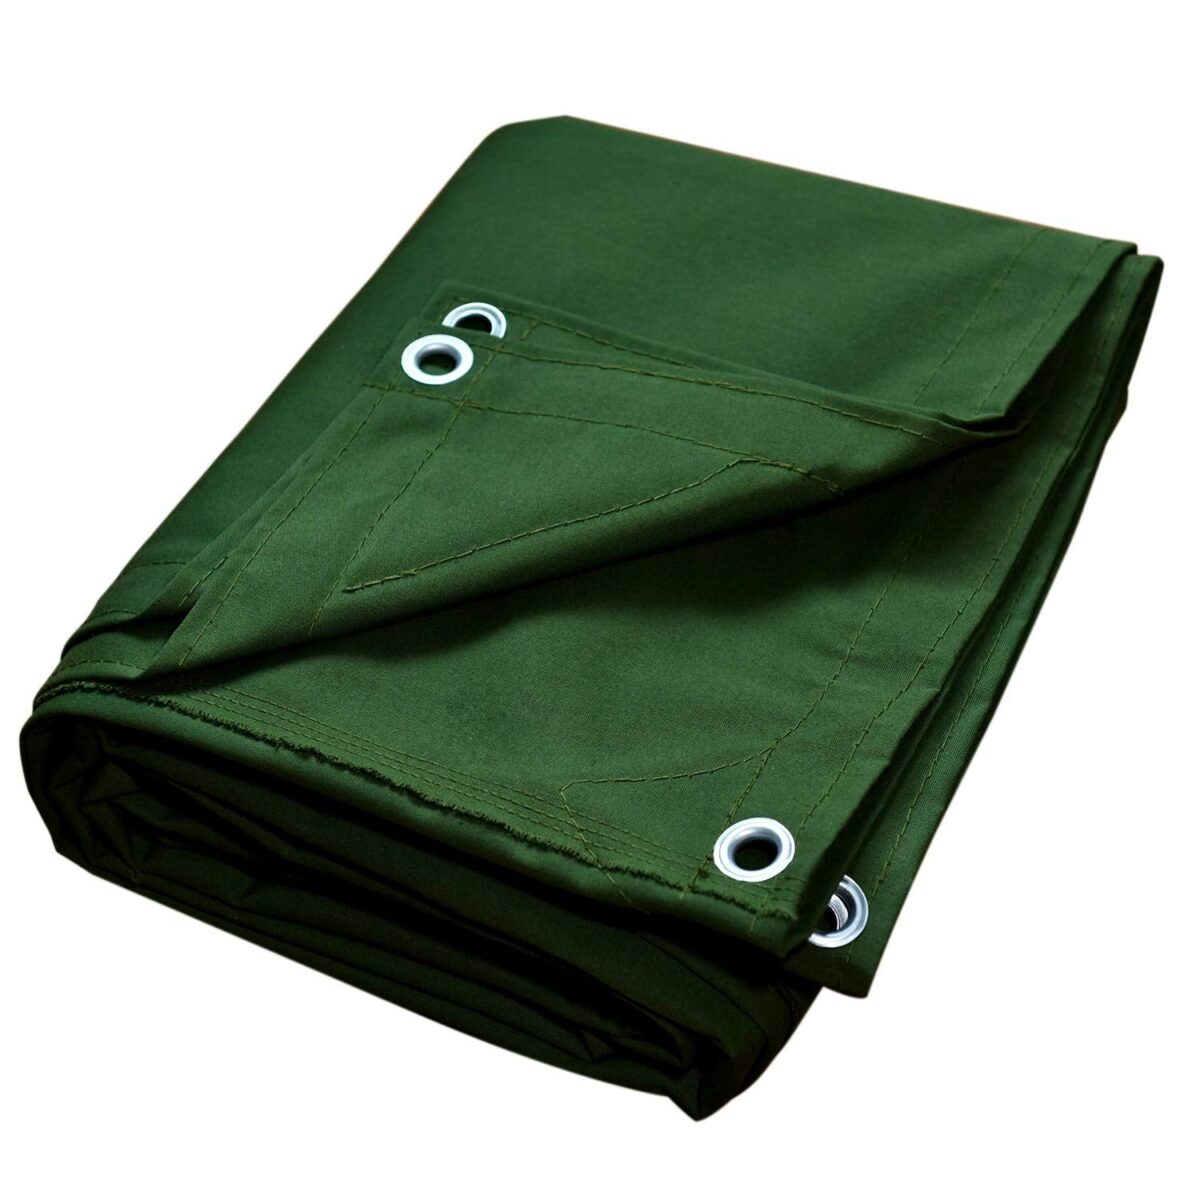
How to Repair Rips and Tears in Old Tarpaulins

Keeping old tarpaulins in good working condition through minor repairs can offer several important benefits over constant replacement. Tarpaulins are a worthwhile long-term investment, but they do not last forever and will inevitably suffer damage from extended outdoor exposure and heavy-duty use over time.
Reasons Why Repairing Old Tarps
There are three main reasons why repairing old tarps is preferred over replacing them:
Cost Effectiveness
Replacement tarps can be an expensive proposition, especially for extra-large or heavy-duty tarps designed for construction or agricultural use. Basic repair materials like needle and thread or adhesive patch kits are very low-cost in comparison.
Environmental Impact
The production and transportation of new tarps require considerable resources and contribute to landfill waste when discarded. Extending the usable life of existing tarps keeps more material out of landfills.
Availability
Tarps are essential rain protection for many jobs, but lead times on replacement tarps can impact work schedules. Keeping backup Clear Tarpaulin in good repair ensures coverage is always available on short notice if primary tarps fail.
Repairing Thread Tears
Thread tears are among the easiest repairs for do-it-yourself tarp menders. Follow these basic steps:
Clean and inspect the tear
Use a clean rag and alcohol to wipe dirt from both sides. Ensure the edges are not further fraying.
Thread the needle
Double knot the polyester thread at one end for strength. Thread the needle and trim excess.
Start stitching
Knot one thread end inside the fabric and bring the needle up from the underside, entering 1/4 inch from the tear edge.
Sew the tear closed
Make tight, small stitches (6-8 per inch) going over the top side and pulling taut but not warping the fabric. Leave a 1/4-inch tail at the end.
Tie off and seal
Tie 2-3 knots inside the fabric on the underside. Dab a drop of the sealant like Flex Seal over the knot and tail to fully waterproof the closure.
Reinforce as needed
For long tears, reinforce from the back side with parallel stitches 1/4 inch away. Hemmer or serger stitches can also strengthen seams.
Patching Holes
Larger openings or completely missing fabric sections require a tarp patch for repairs. Follow these steps:
Prepare the patch
Cut the patch 50-100% larger than the hole to allow for trimming and folding edges under.
Apply the adhesive
Peel paper backing and smooth the gummed patch underside over the hole, leaving an inch of fabric edge.
Press to adhere
Use your hands or a mallet to bond the patch firmly all over. Let fully set per adhesive directions (5-10 minutes).
Trim excess patch
Use sharp scissors to trim away doubled fabric outside the edges neatly. Rounded corners prevent further tearing.
Topstitch the patch
Sew around the perimeter with 20-30 tight stitches 1/8 inch in for reinforcement. Backstitch at start and end.
Add details
Mark holes concealed by patches with a fabric pen for reference in the future. Patches may also be color-matched or branded for visibility.
Identifying the Type of Rip or Tear
Being able to correctly diagnose the specific damage on a torn or ripped section of a tarp is important for determining the best repair approach. A brief assessment of the tarp defect can help select the proper materials and method.
Thread Tears
These defects involve splitting or pulling threads along a seam or woven area. Thread tears tend to be narrow and may range from a few inches to the length of a seam.
Punctures
Sharp objects like nails, thorns, or glass can cause small holes through the thickness of the tarp material. Punctures often appear as perfectly circular openings.
Cuts
Blunt objects or rough surfaces may result in an elongated slash or cut through one or more layers of the tarp fabric. Cuts have irregular edges compared to punctures.
Holes
More substantial defects where a section of the tarpaulin layer or layers are completely missing, leaving an opening. These gaps may be several inches wide on heavier wear areas.
Location
Consider the location of any damage. Repairs are generally easier in less-stressed non-corner areas versus tops of folds or seams. Also, note the approximate size – large punctures or holes may require a patch while thread tears can often be sewn.
Tools and Materials Needed for Repairs
Being prepared with the right supplies makes tarpaulin mending easy and ensures even extensive damage can be addressed. Consider keeping a permanent repair kit stocked for maintenance and emergencies.
Adhesives
Flexible hi-tack patches for holes up to 4″. Iron-on adhesive already applied. Waterproof sealants like Flex Seal. Apply with a brush or small sticks for tight cracks. Marine sealant for seams. Brush on thread-soaked areas to reinforce.
Patches
HT250 outerwear fabric for heavy repair patches up to 12″. Scraps of sturdy tarp material are reused as smaller patches. Kevlar thread patches extreme wear-and-tear spots.
Sewing Kit
Strong polyester thread (150-200 denier) lasts through weathering. Green, grey, or blue best match most tarps. Selection of sharps/fine needles (sizes 5-10). Larger needles for heavy fabric; smaller ones for delicate work. Fabric scissors with sharp points and micro-serrations for clean cuts.
Best Articles: https://www.hituponviews.com/


